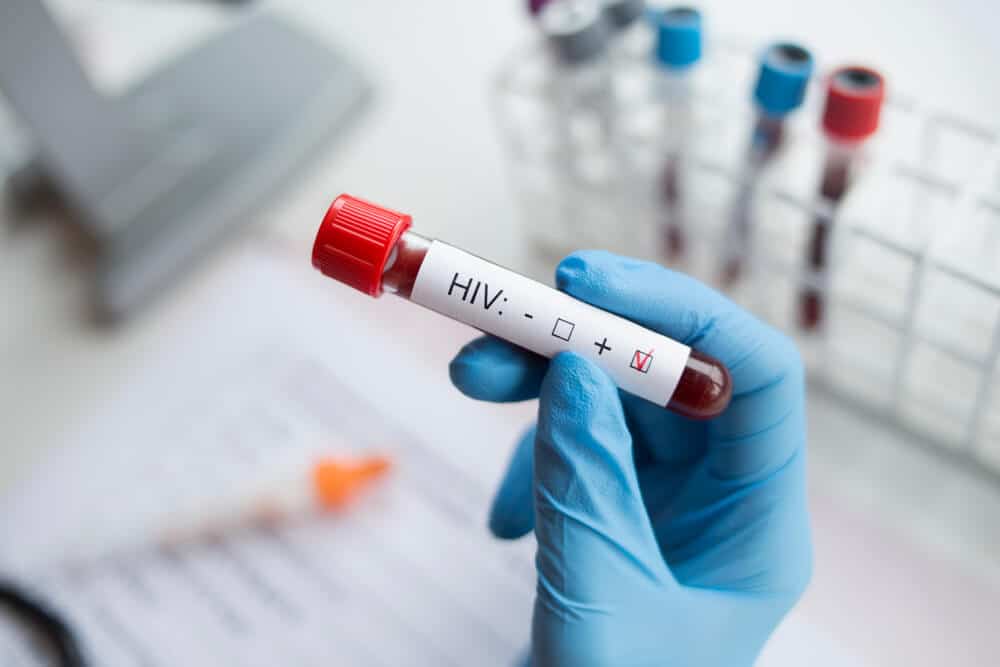
When facing the challenge of cleaning up HIV/AIDS infected blood, it’s essential to understand that the process isn’t just about removing visible stains. It’s about ensuring that every trace of the virus is eradicated, safeguarding everyone involved from potential exposure. Here, we’ll guide you through the meticulous steps required to properly clean up HIV/AIDS infected blood, ensuring safety and compliance with health standards.
Understanding the Risks
Cleaning up HIV/AIDS infected blood requires a comprehensive understanding of the risks involved. Human Immunodeficiency Virus (HIV) is transmitted through blood and other bodily fluids, making any contact with infected blood a significant health hazard. Proper cleanup is crucial to prevent accidental exposure and potential infection.
Preparing for Cleanup
Personal Protective Equipment (PPE)
The first and most critical step in the cleanup process is ensuring that you are adequately protected. Personal Protective Equipment (PPE) is non-negotiable. This includes gloves, masks, goggles, and protective clothing. These items create a barrier between you and the contaminated blood, significantly reducing the risk of exposure.
Gathering Supplies
Before beginning the cleanup, gather all necessary supplies. You will need:
- Absorbent materials (paper towels or cloths)
- Biohazard disposal bags
- Hospital-grade disinfectant with a 99.999% effectiveness
- Cleaning agents ATP testing equipment (optional, but recommended for verification)
The Cleanup Process
Initial Pre-Clean
Begin by removing as much of the contaminated blood as possible using absorbent materials. Carefully blot the area without scrubbing to prevent the spread of the virus. Place all used materials into a biohazard disposal bag immediately.
Disinfect the Area
Once the initial cleanup is complete, it’s time to disinfect. Apply a hospital-grade disinfectant to the affected area. It’s crucial to use a disinfectant that is proven to kill 99.999% of viruses and bacteria. Follow the manufacturer’s instructions for application and contact time to ensure maximum effectiveness.
Ensuring Thorough Decontamination
Visual Inspection
After disinfecting, conduct a thorough visual inspection of the area. Look for any remaining stains or spots that might still be contaminated. If you find any, repeat the pre-clean and disinfect steps.
Best Practices in Biohazard Cleanup
Professional biohazard mitigators follow stringent industry best practices. This includes using high-quality disinfectants, ensuring proper contact time, and adhering to all safety protocols. It’s essential to treat all blood spills with the same level of caution, regardless of the known pathogens.
Verification and Testing
ATP Testing
For added assurance, consider using an ATP (adenosine triphosphate) test. This test measures the presence of organic material on a surface. While it won’t specify what types of organisms are present, it will indicate whether any biological contamination remains. This step is crucial in confirming the area is thoroughly decontaminated.
Final Inspection
Conduct a final inspection after ATP testing. Ensure that all cleaning materials are disposed of correctly in biohazard bags and that the area is safe for use.
Conclusion

Properly cleaning up HIV/AIDS infected blood requires meticulous attention to detail and strict adherence to safety protocols. By following these steps—pre-cleaning, disinfecting, visual inspection, and verification testing—you can ensure that the area is safe and free from any potential hazards. Always prioritize safety, use appropriate PPE, and follow best practices to protect yourself and others from exposure to harmful pathogens. For professional assistance, contact Scene Clean today.


